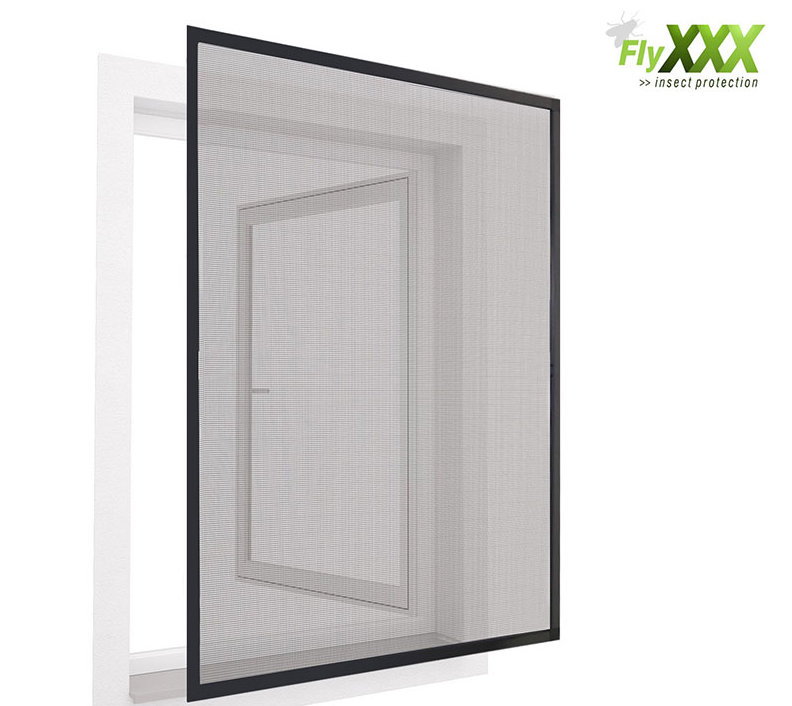
Retractable screen windows are an exceptional choice for your home because they allow you to bring in fresh air while keeping out the bugs, and look far better than traditional fixed screens. Once you make the right choice to install retractable screen windows, you are also given the opportunity to enjoy a clear view and smooth function. However, enjoy that promise for years to come by getting it right the first time. Screen windows that are poorly constructed and installed will guarantee frustrated customers with gaps to let in pests and a screen that will not last long. Performing correct and precise installations the first time around should not be just a suggestion, it should be the foundation on which you build the screen windows' best performance and long-lasting durability.Consider installation the most crucial aspect of the ownership experience. No matter how great the overall quality and components are, the screen will simply not work if the frame isn't square, the tracks aren't level, or the measurements are incorrect. The good news is that with the attention to detail and the following some professional principles, you can achieve a screen that works. You can even guide a professional installer on how to install the screen. Understanding these crucial points will ensure that the screen works and protects from the first use. Here are the most important guides to achieving a great install.
Before unwrapping the new screen, success is based on the preparation you do prior to the install. This phase is about setting the installation up.
To begin, important tools need to be gathered. A good quality measuring tape, level, pencil, and frame check screws will be ideal to use on long frames and will help check up a level. Also use some of the screws provided by the manufacturer, and the right drill with bits that match the material the wall is made of. Having these tools on hand will ensure that you do not pause the job.
Next, the most important detail is measurement - to a fault. The screen installation opening has to be measured. Measure width at top, middle, and bottom, and height left, center, and right. Use the smallest measurement to make certain the screen unit is going to fit through the opening. It's quite common to have openings that appear to be perfectly square, yet the variations of the opening tend to make them not square. Especially when it comes to ordered screen units, the last thing you want is to receive or build a unit that doesn't fit.
Next, the opening itself has to be prepped. The installation area has to be clean and free of any old caulk, and paint debris. The frame of the windows, whether wooden or metal, has to be in good condition. A clean area serves good construction for a clean and sturdy mounting area.
You are now ready to start the installation. This is the part where your patience will be most evident.
Begin by test fitting the frame without the screen mesh cassette (if that's possible). Then, place it gently into the opening. This is a very important check to confirm your measurements and see how it sits. Check your level to see if it is plumb and level on all sides. Do not assume the existing window or door frame is level; you are creating a new, true plane for the screen. Shim the frame with small, non-compressible shims to achieve alignment before any screws are driven. A frame that is out of square will cause the screen to drag, bind, or retract unevenly.
Next, we need to secure the frame. Following the instructions provided by the manufacturer, begin fastening the frame using the screws provided, Starting at the top corners, leave the screws loose. Go around the frame, screwing the provided screws into the holes that are already drilled and check the level often. The aim is to pull the frame into a position without warping. Once you have all the screws in, and the frame is confirmed to be level again, you can then tighten the screws. The frame should be level in all directions. An unwavering frame is the primary core of the whole system.
Install the screen cassette or cartridge. With most designs of retractable screens for windows, this means you just need to slide or click the cassette, which has already been meshed and spring-loaded, into the side channel of the frame. This should be easy, assuming the frame is installed correctly. Ensure the cassette seats all the way, and fully and securely, then lock according to the instructions. Next, you should attach the pull bar or handle to the edge of the mesh. The last adjustment is the screen. Most systems offer a simple screw or knob to help you set the retraction speed so the screen rolls up smoothly and completely without snapping back too forcefully.
Your job isn't quite done. The screen is there, but these last adjustments are what done a lot of performance and protection.
The most crucial step is to seal all gaps. Even with a properly fitted screen, there could still be minuscule gaps at the edges where bugs can get through. This is the purpose of quality weather stripping foam tape. Apply a continuous seal around the entire perimeter of the screen frame, where it meets the host window or door frame, and where the corners are. For an even more secure installmen, applying a thin bead of clear, paintable silicone caulk on the exterior to block drafts and water. An installation that is all seals delivers "maximum protection" so nothing can get through, not even mosquitoes, flies, or dust.
After sealing, operate the screen several times. It should extend and retract with even, light pressure. Listen for scraping or binding sounds. Observing the mesh is important as it should travel centered and not rub against the guides. If there is any friction or misalignment, you might need to make small adjustments to the frame or cassette position. This testing phase is your chance to catch and correct small issues before they become large problems.
Smart installation requires thoughtful planning, preparation, and product quality. Quality engineered products help make installation easier while reducing the risk for numerous challenges.
Let's breakdown the components. A screen encased in a solid, rigid aluminum frame won't flex or twist during installation, allowing for a more true and square fit. Fiberglass mesh is stable and retracts more evenly. Tracks and guides should provide smooth, consistent retraction. J. E. McDonald installations are easier and more reliable because, unlike many other manufacturers, we provide products that are precisely engineered and built to fit together seamlessly.Essentially, a quality installation can reveal the full potential of a quality product. If a collection of parts is transformed into a high-performing, long-lasting feature of your home by the careful preparation of the installer, together with a level and square frame, secured, and all gaps confidently filled, then your installation will be the best guarantee of enjoying effortless operation, unobscured views, and a bug-free home for many seasons to come.